Install Simple Rail® With Ease
Take the confusion out of installing safety railing.
Installing a safety railing out of pipe and fittings was already simple. We have just made it simpler! Every Simple Rail comes with pre-built posts and straightforward step by step instructions. Even if you do run into any questions, we have a team ready to help at a moments notice. Shoot them an email or give them a call.
- Estimated install time: 1 to 3 hours
- Skill level: No fabrication or welding experience required
- Tools needed: Tape measure, drill, Allen key (included)
- Kit contents: Pre-built posts, fittings, pipe, hardware

Confirm all your parts.
Unpack your delivery and count up your posts, fittings, and lengths of pipe. You can’t install the railing if you are short parts!
Posts are pre-built, so counting your inventory should be minimal.

2. Place posts where they need to be.
You know where the safety railing needs to go, so line up your posts there.
Full lengths of pipe come in 21’ sticks. Making your post spacing 7’ reduces significant waste when cutting pipe.

3. Mark holes for mounting.
With your posts lined up, mark the surface where you need to drill holes for your mounting hardware.
Use the holes in the flanges as a template for perfect hole spacing.

4. Drill away!
Whether its a pilot hole or hammering through some concrete, drill out your holes and set your hardware through the flanges into the material.
Line up your hardware with your drill bit, tape or mark the required depth on the bit for perfect drilling depth each time.

5. Cut the pipe to post spacing.
If you did not order your safety railing with pre-cut rails, now is a great time to cut down your pipe to exact lengths for assembly.
When cutting pipe, portable band saws are a dream for contractors in the field.

6. Slide pipe into posts, tighten it all down!
Take your Allen key and tighten the pipe down inside the fittings.
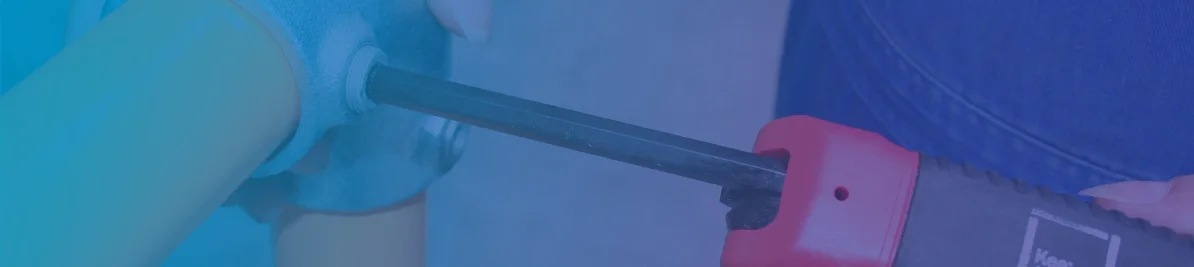
Putting an allen key attachment on a drill will save you insane amounts of time. Set the torque and zip it in.

7. Step back and admire your work
That's it. You just installed a code-ready safety railing that used to require a welder, a fabricator, and a purchase order the size of your arm. Give it a final check. Every fitting tight, every post plumb, and you're done.
Simple Rail Install FAQs
How long does it take to install a Simple Rail safety railing?
Most installations take 1 to 3 hours, depending on the length of the run and the mounting surface. Because posts are pre-built and components are pre-measured, no fabrication or custom cutting is required.
Does Simple Rail require welding?
No. Simple Rail uses pipe-and-fitting construction secured with set screws. No welding, threading, or specialty trades are required. A standard drill and the included Allen key are sufficient for the entire installation.
Is Simple Rail OSHA compliant?
Simple Rail is engineered to meet OSHA 1910 general-industry guardrail requirements when installed according to the provided instructions. Contact our team for compliance guidance on specific applications.
What surfaces can Simple Rail be mounted on?
Concrete, wood, and steel are the most common substrates. Anchor selection depends on the surface: masonry anchors for concrete, lag screws for wood, and self-tapping or thru-bolt fasteners for steel.
Can Simple Rail be installed on stairs or sloped surfaces?
Yes. Simple Rail offers angled fittings and stair-specific configurations. Contact the team before ordering to specify the correct components for the slope or stair rise.
What is the difference between a handrail and a guardrail?
A handrail is used for grip along stairs and ramps. A guardrail (or safety railing) prevents falls from elevated surfaces such as loading docks, mezzanines, and roof access points. Simple Rail is available in configurations for both applications.